Deploying Microsoft 365 Apps (formerly Office 365 Professional Plus) across multiple systems requires precision, flexibility, and control. That’s exactly what the Office Deployment Tool (ODT) is designed to provide.
The Office Deployment Tool (ODT) is a command-line utility from Microsoft that allows administrators to download, configure, and deploy Microsoft 365 Apps in enterprise environments. Whether you’re managing a small IT setup or a large corporate network, ODT gives you granular control over installation settings, update channels, language packs, and more.
What Is the Office Deployment Tool (ODT)?
The Office Deployment Tool is a lightweight command-line tool used to:
- Download Microsoft 365 Apps installation files
- Deploy Office using custom configuration settings
- Manage updates
- Control languages, architecture (32-bit or 64-bit), and excluded apps
- Deploy Office in offline environments
Unlike standard web-based installations, ODT allows administrators to create a fully customized Office installation tailored to organizational needs.
Step-by-Step Guide to Using the Office Deployment Tool
Let’s walk through the complete process of downloading and deploying Microsoft 365 Apps using ODT.
Step 1: Download and Install the Office Deployment Tool
- Visit Microsoft’s official download page for the Office Deployment Tool.
- Download the executable file (typically named officedeploymenttool.exe).
- Run the downloaded file.
- Accept the license agreement.
- Choose a folder where the files will be extracted (e.g., C:\ODT).
- After extraction, you’ll typically see:
- Setup.exe
- Sample configuration XML files
Step 2: Create or Modify the Configuration XML File
The Office Deployment Tool relies on a configuration XML file to determine what to download and install.
You can use one of the sample files provided or create your own configuration file (for example: configuration-Office365-x86.xml).
Example Configuration File (32-bit Office 365)
<Configuration>
  <Add OfficeClientEdition="32" Channel="Current">
    <Product ID="O365ProPlusRetail">
      <Language ID="en-us" />
    </Product>
  </Add>
  <Updates Enabled="TRUE" />
  <Display Level="None" AcceptEULA="TRUE" />
</Configuration>
Key parameters explained:
- OfficeClientEdition=”32″ → Installs 32-bit Office (x86)
- Channel=”Current” → Uses Current Update Channel
- Language ID=”en-us” → English (US)
- Display Level=”None” → Silent installation
- AcceptEULA=”TRUE” → Automatically accepts license agreement
Save the file in the same directory as setup.exe.
Step 3: Download Office 365 Installation Files
- Open Command Prompt as Administrator.
- Navigate to the directory where ODT is extracted:
cd C:\ODT- Now issue the download command:
setup.exe /download configuration-Office365-x86.xmlWhat This Command Does
- Reads your XML configuration file
- Downloads the specified Office version
- Stores installation files locally in the folder
Depending on your internet speed, the download may take some time.
Step 4: Install Office 365 Using ODT
Once the files are downloaded successfully, run the following command:
setup.exe /configure configuration-Office365-x86.xml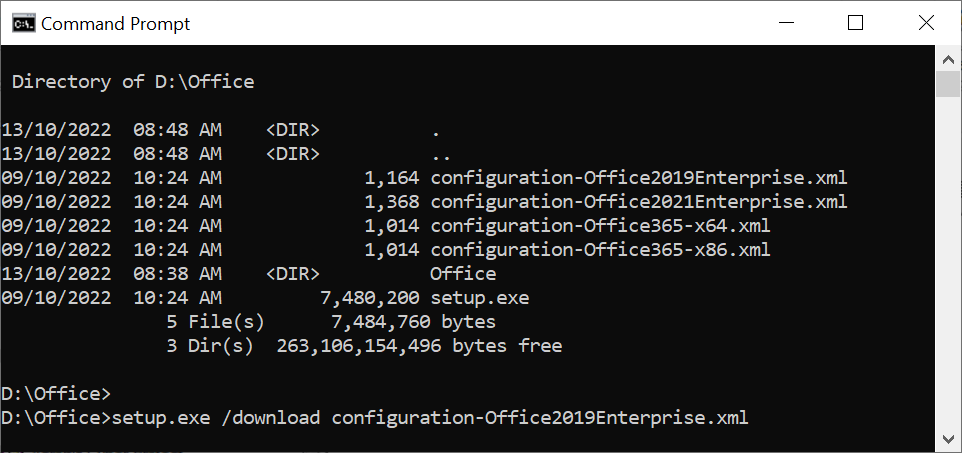
What This Command Does
- Uses the previously downloaded installation files
- Installs Office according to your configuration settings
- Runs silently if configured with Display Level=”None”
If everything is configured correctly, Office will install without prompting the user.
Understanding the Two Key ODT Commands
The Office Deployment Tool works primarily with two commands:
| Command | Purpose |
| setup.exe /download | Downloads Office installation files |
| setup.exe /configure | Installs Office using configuration settings |
Advantages of Using the Office Deployment Tool
- Full control over Office installation
- Supports offline deployment
- Customizable configurations
- Scalable for enterprise use
- Reduces repeated downloads